The Complete Gua Sha Guide: Everything You Need for Lifted, Sculpted, Glowing Skin
By Amber Boone, Holistic Aesthetician & Founder of Skin Soul Rituals
You've been scrolling. Seeing the photos. Watching women with glowing skin, defined jawlines, and that effortless radiance you want to have too.
They're all talking about gua sha.
And you're wondering: Could this actually work for me?
Maybe you've already bought a stone that's been sitting in a drawer because you're not sure you're doing it right. Or maybe you haven't started yet because you're overwhelmed, too many videos, conflicting advice, no clear path forward.
Maybe you're skeptical. You've tried things before that promised results and delivered nothing. You don't have time for another skincare trend that doesn't work.
Here's what I want you to know: Gua sha is not a trend. It's a 2,000-year-old practice that actually works when you understand how to do it properly, what to expect, and how to make it fit into your real life.
I'm Amber, a licensed holistic aesthetician with over 13 years of hands-on experience. I've used gua sha in my treatment room with hundreds of clients. I've practiced it on my own face almost every day for years. I've seen the transformation it creates not through filters or perfect lighting, but through consistent, intentional practice.
This guide is everything I wish someone had told me when I started. It's comprehensive but not overwhelming. It's honest about what works and what doesn't. And it's designed to meet you exactly where you are, whether you're a complete beginner or someone who's been practicing but not seeing the results you want.
By the end of this guide, you'll know:
Exactly what gua sha does (and doesn't do) for your skin
How to choose the right tool and use proper technique
What results to expect and when
How to customize your practice for YOUR specific goals
The common mistakes that sabotage results
How to fit this into your life, even if you only have 5 minutes
You don't need to become an expert overnight. You just need to start with the right information, the right tools, and the right support.
Let's do this together.

Part 1: What Gua Sha Actually Is (And Why It Works)
The Ancient Practice, Modernized
Gua sha (pronounced "gwah-shah") comes from traditional Chinese medicine. The term literally translates to "scraping sand"—referring to the light, speckled marks that sometimes appear on skin after treatment.
Traditionally, gua sha was used on the body to release muscle tension, improve circulation, and move stagnant energy (called "qi" in Chinese medicine). Practitioners used smooth-edged tools made from jade, horn, or stone to apply pressure and gliding strokes along specific pathways.
Modern facial gua sha adapts this ancient technique for the delicate skin and muscles of the face. Instead of the deeper pressure used on the body, facial gua sha uses gentle, intentional strokes to:
Drain lymphatic fluid
Release facial muscle tension
Increase circulation
Stimulate collagen production
Sculpt and lift facial contours
It's the same foundational principles—just refined for the specific needs of your face.
What Happens When You Do Gua Sha
Here's the science behind why this works:
Lymphatic drainage: Your lymphatic system is your body's waste removal and immune support network. Unlike your circulatory system (which has your heart as a pump), your lymphatic system relies on muscle movement and manual stimulation to move fluid.
Your face has a complex network of lymph vessels, and fluid easily pools there, especially after sleeping flat all night, eating salty foods, or experiencing hormonal changes. When lymphatic fluid stagnates, your face looks puffy, swollen, and dull.
Gua sha manually moves this fluid toward your lymph nodes (located primarily at your neck and near your ears) where it can be filtered and drained. The result? Immediate depuffing and a lighter, more sculpted appearance.
Increased microcirculation: The gentle pressure and gliding motions stimulate blood flow to your skin's surface. Fresh, oxygenated blood brings nutrients and removes waste products. This is what creates the immediate "glow" you see after a session, your skin is literally more oxygenated and nourished.
Muscle tension release: You hold tension in your face just like you do in your shoulders. Clenching your jaw, furrowing your brow, squinting and this creates chronic muscle tightness that pulls your face down and creates wrinkles.
Gua sha releases this tension, allowing muscles to relax and lengthen. When facial muscles aren't chronically contracted, your face looks more lifted, open, and youthful.
Collagen stimulation: The micro-pressure from gua sha signals your skin cells to produce more collagen and elastin, the proteins responsible for firmness, elasticity, and youthful structure. This is a gradual process, but with consistent practice over weeks and months, it genuinely improves skin quality.
Nervous system regulation: The slow, intentional practice activates your parasympathetic nervous system (rest mode), reducing stress hormones like cortisol. Lower stress = less inflammation = healthier, calmer skin.
What Gua Sha Can Realistically Do
Let's be clear about what's possible and what's hype.
Gua sha CAN:
Reduce puffiness and fluid retention (immediately and cumulatively)
Sculpt and define your facial contours over time
Release chronic muscle tension (jaw, temples, forehead)
Soften fine lines caused by dehydration or muscle tension
Improve circulation for brighter, more radiant skin
Support lymphatic drainage for clearer skin
Provide a gentle, cumulative lifting effect
Reduce inflammation and calm reactive skin
Help your skincare products absorb better
Gua sha CANNOT:
Change your bone structure
Erase deep wrinkles or reverse significant sun damage
Work miracles in one session
Fix severe skin issues that require dermatological care
Substitute for healthy lifestyle habits
Think of gua sha like exercise for your face. One workout won't transform your body, but consistent practice over time creates real, visible change
The bottom line: Gua sha works. But it requires consistency, proper technique, and realistic expectations.
Feeling overwhelmed by where to start? I created a free 5-Day Gua Sha Challenge that walks you through the fundamentals step-by-step the proper technique, full-face routine, and how to target your specific concerns.Join the challenge here and start seeing results within the first week
Part 2: Getting Started - What You Actually Need
You don't need a lot. In fact, simplicity is better when you're starting out.
Your Gua Sha Tool: How to Choose
What to look for in a quality tool:
Smooth, polished edges - No rough spots that could scratch your skin
Proper shape with curves - Multiple edges that fit your facial contours (jaw, cheekbones, under-eyes)
Comfortable size - Not too large (unwieldy) or too small (hard to grip)
Solid construction - One-piece stone, no cracks or chips
Appropriate thickness - Substantial enough to glide smoothly but not clunky
The stone material question:
Here's the truth…
I work with different stones—white jade, green aventurine, moss agate and I love each for different reasons. White jade is naturally cooling and has a clean, elegant energy. Green aventurine feels heart-centered and abundant. Moss agate has a grounding, earthy quality.
What matters: That the stone is smooth, well-made, and feels good in your hand. A high-quality rose quartz will outperform a cheap, poorly-made jade every time.
My recommendation for beginners: Choose a stone that appeals to you aesthetically. If you love how it looks and feels, you'll actually use it and consistency is what creates results.
In my Glow & Lift Kit, I currently offer moss agate because I love its gentle, grounding energy and beautiful natural patterns. I also offer white jade and green aventurine as individual stones for those who feel drawn to their specific qualities. Try what calls to you.
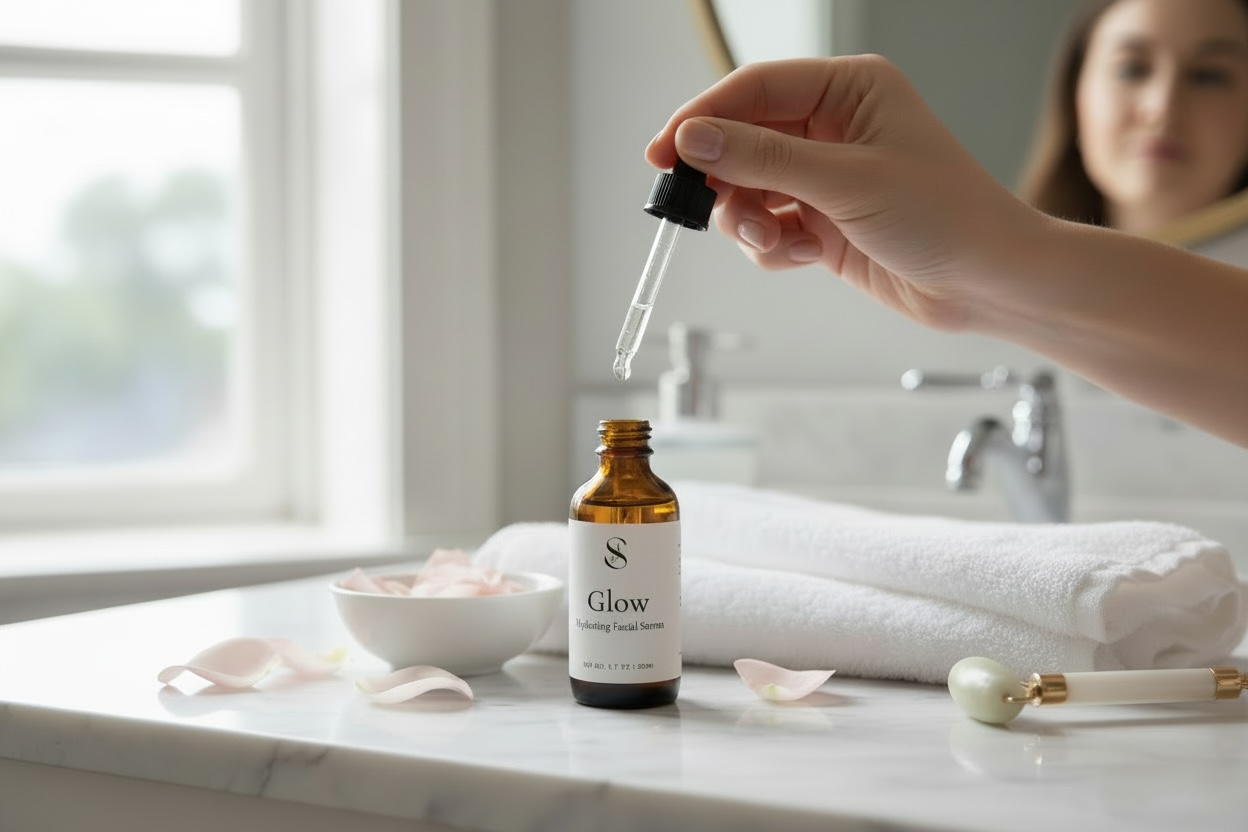
The Facial Oil: Non-Negotiable
Don’t do gua sha on dry skin. Dragging a stone across dry skin creates friction that can irritate, damage capillaries, and even cause premature wrinkles.
You need a facial oil or serum that provides "slip" smooth gliding without pulling.
What to look for:
Lightweight enough to glide smoothly
Nourishing enough to benefit your skin during the 5-10 minute massage
Non-comedogenic (won't clog pores)
Made with quality plant oils
Pleasant or neutral scent (you'll be breathing it in)
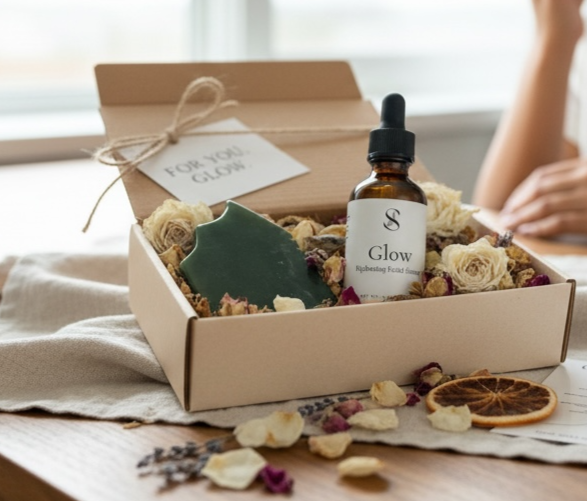
I formulated my Glow Elixir specifically for gua sha practice, it's the perfect weight for smooth gliding, packed with botanical oils (jojoba, rosehip, calendula) that nourish during the massage, and the hinoki-bergamot-sandalwood scent is calming and grounding.
But any quality facial oil works, just make sure it's actually an oil, not a cream (which doesn't provide enough slip).
That's It. Seriously.
You need:
A quality gua sha stone
A good facial oil
Everything else is extra.
You don't need jade rollers, electric devices, twelve different stones, or complicated routines. Simple is better, especially when you're starting.
Ready to start with everything you need? The Glow & Lift Kit includes a professional-grade gua sha stone and our Glow Elixir facial oil, the exact tools I use and recommend to beginners. It's everything to start your practice with confidence.
Part 3: The Technique - How to Actually Do It
This is where most people get stuck. Technique matters and the difference between results and wasted time is understanding how to do this correctly.
The Golden Rules of Gua Sha
Before I give you specific techniques, understand these principles:
1. Light to medium pressure - NEVER hard Your lymphatic vessels sit very close to the surface of your skin. Deep pressure bypasses them entirely. You want gentle, intentional gliding, not aggressive scraping.
If you're seeing significant redness, broken capillaries, or bruising on your face, you're pressing way too hard.
2. Always move in the correct direction Lymph only flows one way. You're moving fluid OUT (away from the center of your face) and DOWN (toward your neck where your lymph nodes are and ultimately towards the heart).
Never scrape back and forth randomly. Always: out and down.
3. Slow, intentional strokes Each stroke should take 3-5 seconds. You're coaxing fluid to move, not frantically scraping. Slow = effective.
4. ALWAYS start with your neck This is the most important step everyone skips. Your neck is where all facial lymph drains. If you don't "open the drain" first, you're just moving fluid around your face with nowhere for it to go.
5. Use enough oil If you feel any dragging, pulling, or friction, you can add a few more drops of oil. You should glide smoothly without any resistance.
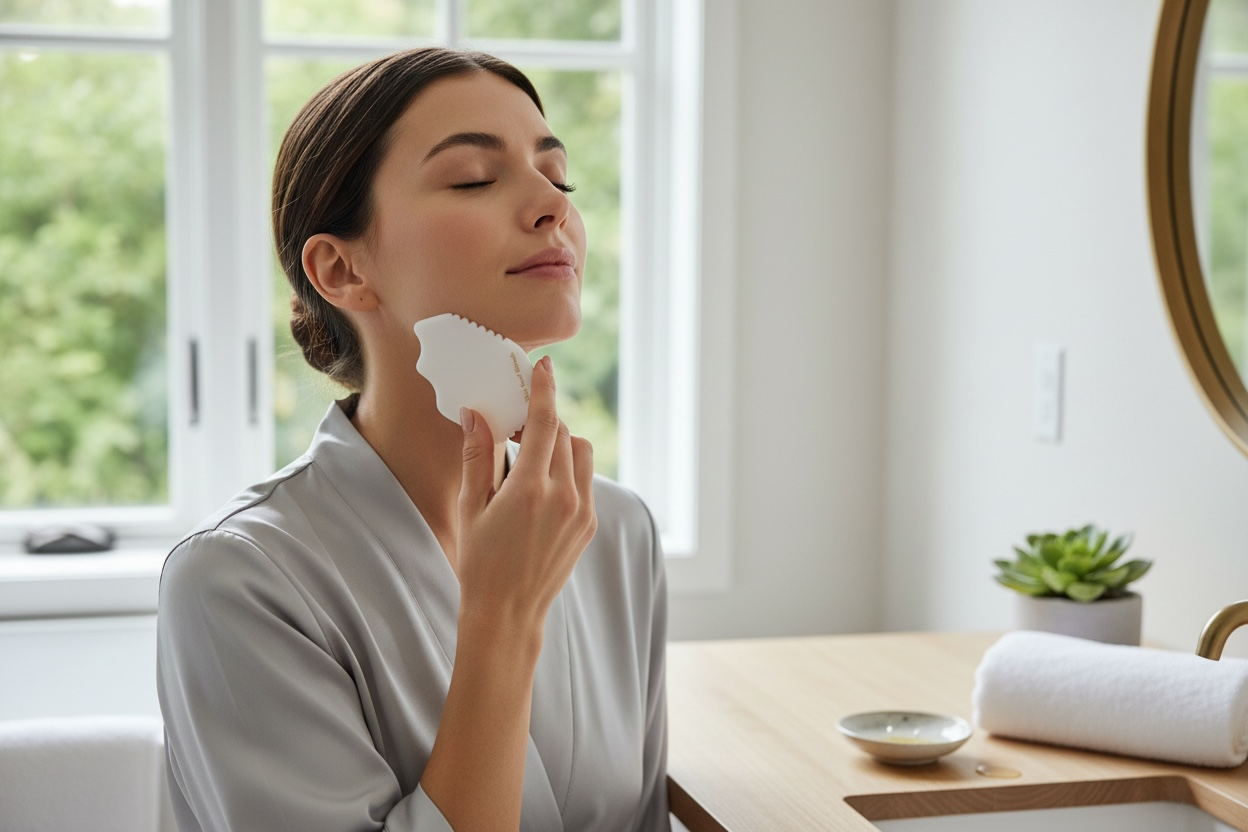
The Basic Full-Face Routine (5-10 Minutes)
This is the foundation. Master this, and everything else is just refinement.
Step 1: Prep Your Drainage Pathways (1 minute)
Sit comfortably. Take 3 deep breaths.
Place the flat edge of your tool just below your ear, at the side of your neck. Glide straight down toward your collarbone. Use smooth, gentle firm strokes.
Repeat 3-5 times on each side.
Why this matters: You're opening your cervical lymph nodes so the fluid you drain from your face has somewhere to go.
Step 2: Jawline Sculpting (2 minutes)
Place the curved notch of your tool at the center of your chin. Glide along your jawbone toward your ear. The tool should follow the natural line of your jaw.
Repeat 3-5 times on each side.
What you're doing: Draining fluid, releasing jaw tension (especially if you clench or grind), defining your jawline.
Step 3: Cheek Lifting (2 minutes)
Start at the side of your nose (where your cheek begins). Using the long curved edge, glide upward and outward along your cheekbone toward your ear.
Repeat 3-5 times on each side.
What you're doing: Lifting cheek tissue, draining puffiness, defining cheekbones, bringing circulation to the mid-face.
Step 4: Under-Eye Depuffing (1-2 minutes)
Using the flat or gently curved edge with the LIGHTEST possible pressure, start at the inner corner of your under-eye. Glide outward toward your temple and all the way to your hairline.
Repeat 3-5 times under each eye.
What you're doing: Draining the most delicate, puff-prone area. Be extremely gentle here, the skin is thin.
Step 5: Forehead Smoothing (1 minute)
Start in the center of your forehead between your brows. Glide outward toward your temple. Work in horizontal sections until you've covered your entire forehead.
Repeat 3-5 times across each section.
What you're doing: Releasing tension (especially if you furrow your brow), smoothing forehead lines, draining forehead puffiness.
Step 6: Complete the Drainage (1 minute)
Finish by sweeping down your neck again, from below your ear to your collarbone. This completes the drainage circuit.
Repeat 3-5 times on each side.
Total time: 5-10 minutes depending on how many strokes you do.
The beauty of this routine? It works even if you only have 5 minutes. Do fewer repetitions if you're short on time. Consistency matters more than duration.
Want to see this technique in action? My free 5-Day Gua Sha Challenge includes video tutorials showing you exactly how to do each step, common mistakes to avoid, and how to customize the routine for your specific concerns. Join here and start practicing with confidence.
Part 4: Choosing Your Path - Gua Sha by Goal
Not everyone has the same skin concerns. Here's how to focus your practice based on what YOU need.
If Your Goal Is: Depuffing and Lymphatic Drainage
Your main issue: You wake up puffy, especially around your eyes and jawline. Your face feels heavy and swollen. You retain fluid easily.
What to focus on:
Always start with neck drainage (this is your #1 priority)
Spend extra time on under-eyes with very light pressure
Do jawline work slowly and intentionally
Practice first thing in the morning when puffiness is worst
Timeline for results:
Immediate reduction in puffiness after each session
Within 2-3 weeks: morning puffiness less severe overall
Within 4-6 weeks: chronic puffiness significantly reduced
Additional tip: Keep your gua sha stone in the fridge. The cold enhances the anti-inflammatory, de-puffing effect dramatically.
Read more: Gua Sha for Lymphatic Drainage, Gua Sha for Puffy Eyes
If Your Goal Is: Sculpting and Facial Definition
Your main issue: You want higher cheekbones, a sharper jawline, and overall more defined facial contours. You might have mild jowling or loss of definition.
What to focus on:
Jawline work is your priority, consistent, intentional strokes along the bone
Cheek lifting with upward and outward movements
Releasing jaw muscle tension (masseter muscle) which can make your face look wider
Consistent daily practice (sculpting is cumulative)
Timeline for results:
Temporary definition immediately after sessions
Visible cumulative sculpting starts around week 4-6
Dramatic transformation by week 8-12
Additional tip: Pair gua sha with a renew serum with bakuchiol to support collagen production and firmness from within.
Read more: Gua Sha Before & After: Real Results, How Long Does Gua Sha Take to Work
If Your Goal Is: Jaw Tension and TMJ Relief
Your main issue: You clench or grind your teeth. Your jaw is tight, sore, or clicks. You carry stress in your face.
What to focus on:
Slow, intentional work along your jawbone
Massaging the masseter muscle (the thick muscle on your lower cheek, just above your jawbone)
Circular motions at your temples
Evening practice to release the day's tension
Timeline for results:
Immediate relief and relaxation after each session
Reduced chronic tension within 2-3 weeks
Significant lasting improvement by 4-8 weeks
Additional tip: Gua sha works best for TMJ when combined with stress management practices such as breath work, meditation, or therapy if stress is the root cause.
Read more: Gua Sha for Jaw Tension and TMJ
If Your Goal Is: Anti-Aging and Wrinkle Reduction
Your main issue: You're in your 40s, 50s, or beyond. You want to slow visible aging, soften fine lines, and maintain firmness without botox or harsh treatments.
What to focus on:
Consistent daily practice (anti-aging is cumulative)
Full-face routine with emphasis on areas of concern (forehead lines, crow's feet, nasolabial folds)
Pair with quality serums and oils that support collagen
Be patient, collagen stimulation takes weeks to months
Timeline for results:
Improved circulation and glow immediately
Softened fine lines from fluid retention and tension within 2-4 weeks
Visible improvement in skin firmness and texture by 8-12 weeks
Maximum collagen benefits by 3-6 months
Additional tip: Gua sha is incredibly effective for mature skin when paired with gentle, nourishing botanical products. Avoid harsh actives that compromise your barrier.
Read more: Gua Sha in Your 40s, Can Gua Sha Replace Botox?
Part 5: When and How Often to Practice
The most common question I get: "How often should I do gua sha?"
The answer depends on your goals and your life.
For Best Results: Daily Practice
Why daily works:
Your lymphatic system responds best to regular, gentle stimulation
Muscle tension builds up daily, daily release prevents chronic tightness
Collagen production is stimulated cumulatively over time
You build a habit that sticks
The reality: Even 5 minutes daily beats 20 minutes twice a week. Consistency > duration.
Minimum for Results: 3-5 Times Per Week
If daily feels impossible, aim for at least 3-5 times per week. You'll still see results, but the timeline will be longer.
Morning vs. Evening
Morning gua sha (best for de-puffing):
Reduces overnight fluid accumulation
Wakes up your skin and circulation
Creates a smooth canvas for makeup
Energizes you for the day
Evening gua sha (best for relaxation and tension release):
Releases the day's stress and muscle tightness
Activates rest mode (parasympathetic nervous system)
Supports better sleep
Gives your skincare time to absorb overnight
My take: Do what fits your schedule. The best time is the time you'll actually do it.
Read more: Morning vs. Evening Gua Sha
Part 6: Common Mistakes That Sabotage Results
After years of teaching gua sha, these are the mistakes I see most often:
Mistake #1: Skipping the neck prep If you don't open your drainage pathways at the neck first, you're just pushing fluid around your face. Always start at the neck.
Mistake #2: Pressing too hard More pressure does NOT equal better results. Lymphatic drainage requires gentle touch. Hard pressure can damage capillaries.
Mistake #3: Using dry skin Never drag your tool on dry skin. Always use oil. No exceptions.
Mistake #4: Moving in random directions Lymph flows in specific pathways. Scraping every which way doesn't support drainage. Always move OUT and DOWN.
Mistake #5: Expecting overnight miracles One session won't transform your face. Gua sha is a practice. Commit to 4-6 weeks before deciding if it works.
Mistake #6: Inconsistent practice Doing it sporadically doesn't give your lymphatic system or muscles time to retrain. Consistency is everything.
Mistake #7: Not using enough oil If you feel any tugging or friction, add a little more oil. Smooth gliding is essential.
Read more: 9 Gua Sha Mistakes Beginners Make
Part 7: What to Expect - Your Realistic Timeline
Let's set honest expectations so you know what's normal.
Immediately after your first session:
Face looks less puffy, especially under eyes
Skin has a visible glow from increased circulation
Cheekbones and jawline appear more defined (temporarily)
Face feels lighter, less tense
These immediate results will fade within a few hours. That's normal. You're building toward lasting change.
Week 1:
You're learning technique, building the habit
Immediate effects each time, but no permanent changes yet
You might feel areas of tenderness where you hold tension
Weeks 2-3:
Morning puffiness becomes less severe
The glow lasts longer throughout the day
Jaw tension doesn't return as quickly
You start to love the ritual itself
Weeks 4-6:
Visible cumulative changes begin
Facial contours look more defined consistently
Fine lines from dehydration soften
Other people might comment you look well-rested or "different"
Weeks 8-12:
Significant, lasting transformation
Lymphatic system drains efficiently on its own
Facial definition is obvious in photos
Skin texture and tone visibly improved
Long-term (3-6 months+):
Results stabilize and deepen
Your face functions better even when you skip days
Muscle patterns have retrained
Skin barrier is stronger, healthier
The key: Give it at least 6 weeks of consistent practice before deciding if it's working.
Read more: How Long Does Gua Sha Take to Work?, Gua Sha Before & After: 6-Week Journey
"I don't have time for another skincare step."
I hear this all the time. Here's the truth: gua sha doesn't have to be 15 minutes of complicated choreography.
Even 5 minutes makes a difference. Truly. Neck drainage + jawline + under-eyes = 5 minutes. That's it.
And those 5 minutes? They're not just "another task." They're a moment of care for yourself. A pause in the chaos. A ritual that actually makes you feel better, physically and mentally.
You have 5 minutes. I promise.
Ready to commit? The 5-Day Gua Sha Challenge is designed for busy women, each day is just 5-10 minutes of practice. Manageable, sustainable, effective.
Part 8: Beyond the Basics - Going Deeper
Once you've mastered the fundamentals, you can explore:
Combining with other practices: Pairing gua sha with facial exercises, breathwork, or meditation for holistic benefits.
Body gua sha: Using gua sha on your neck, shoulders, and décolletage for full-body lymphatic support and tension release.
Advanced techniques: Specific drainage patterns, acupressure points, and targeted muscle release.
But don't overwhelm yourself. Master the basics first. Everything else will follow.
Part 9: Your Questions Answered
Q: Can I do gua sha if I have acne or active breakouts? A: Yes, but avoid scraping directly over active pimples. Gua sha can actually help acne-prone skin by improving circulation and lymphatic drainage, which reduces congestion.
Q: Is gua sha safe during pregnancy? A: Gentle facial gua sha is generally safe, but check with your healthcare provider. Avoid aggressive pressure and skip certain acupressure points.
Q: Can I use gua sha if I've had Botox or fillers? A: Wait at least 2 weeks after injections, then use very gentle pressure and avoid injection sites for the first month.
Q: Will I bruise? A: Not if you're using proper technique. Bruising means you're pressing too hard. Use lighter pressure.
Q: Can gua sha damage my skin? A: Not when done correctly with proper oil and gentle pressure. Dragging on dry skin or using excessive force can damage capillaries.
Q: Do I need different stones for different concerns? A: No. One well-made stone with a good shape works for everything.
Final Thoughts: You're Ready
If you've read this far, you have everything you need to start.
You know what gua sha is, how it works, and what it can realistically do.
You know how to choose your tools and use proper technique.
You know what to expect and when.
You know the common mistakes to avoid.
Now you just need to begin.
Gua sha isn't complicated. It's not reserved for people with perfect skin or unlimited time or special knowledge. It's a simple, ancient practice that works for real women with real lives and real skin concerns.
It worked for me. It's worked for hundreds of my clients. And it will work for you, if you give it time, consistency, and the right foundation.
You don't have to be perfect. You just have to start.
And you don't have to do it alone.
Start Your Gua Sha Journey Today
Option 1: Learn the Technique (Free)
Join the5-Day Gua Sha Challenge and I'll teach you everything step-by-step:
Day 1: Proper technique and pressure
Day 2: Full-face drainage routine
Day 3: Targeting specific concerns
Day 4: Common mistakes and how to fix them
Day 5: Building a sustainable practice
Video tutorials, practice routines, and personalized guidance, all for free, delivered to your inbox.
Option 2: Get Everything You Need (Complete Kit)
The Glow & Lift Kit includes: Professional-grade gua sha stone our Glow Elixir botanical facial oil (perfect slip + skin-nourishing ingredients)
Everything you need to start your practice with confidence, in one beautiful package.
Welcome to Skin Soul Rituals. Welcome to your gua sha practice. Welcome to caring for yourself with intention, consistency, and grace.
I'm here with you every step of the way.
with gratitude and good skin days,
Amber